
Are you ready to delve into the world of sweet and delightful desserts? Well, look no further than the Bibingka Bisaya recipe! This fluffy rice cake is a culinary gem, originating from the heart of Filipino cuisine. Made with a blend of coconut milk, sugar, and rice flour, it’s a treat that will transport your taste buds to paradise. Imagine this heavenly concoction, steamed to perfection and served with an array of delicious toppings. In this article, we’ll take you through the delightful journey of crafting your very own Bibingka Bisaya.
What is Bibingka Bisaya Recipe?
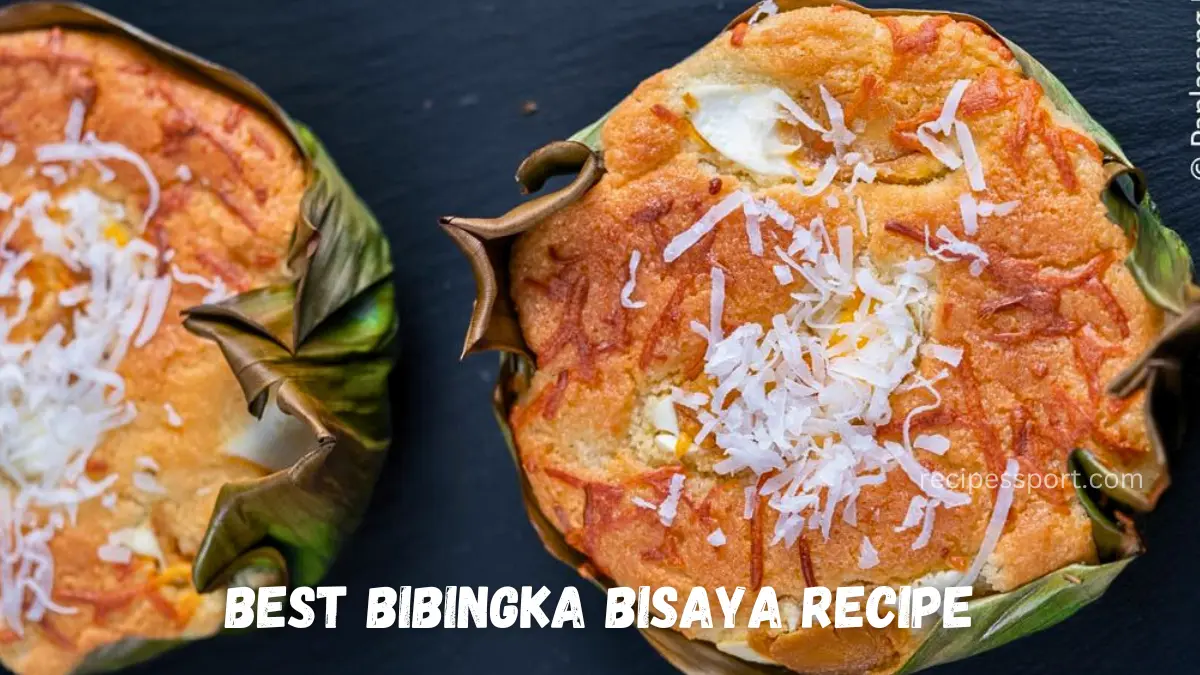
Bibingka Bisaya, in all its glory, is a traditional Filipino rice cake that’s sure to win hearts with its delicate flavors and airy texture. The key ingredients are simple yet magical: rice flour, coconut milk, sugar, eggs, grated coconut, and a touch of melted butter. It’s this combination that creates the foundation for a dessert that’s nothing short of divine.
How Does It Taste?
But how does this Bibingka Bisaya actually taste, you ask? Well, picture a soft, slightly sweet, and coconut-infused cake that practically melts in your mouth. The coconut milk lends it a creamy richness, while the sugar adds a delightful sweetness. It’s a harmonious blend of flavors that will leave your taste buds singing with joy.
Ingredients
- 2 cups rice flour
- 1 cup coconut milk
- 3/4 cup sugar
- 3 eggs
- 1/2 cup grated coconut
- 1/4 cup melted butter
- 2 teaspoons baking powder
- 1/2 teaspoon salt
- 1/4 cup grated cheese (for that cheesy topping)
Step-by-Step Cooking Instructions
- Preparing The Batter: Start by preheating your oven to 350°F (175°C). In a mixing bowl, blend the rice flour, baking powder, and salt. In another bowl, whisk together the coconut milk, sugar, eggs, grated coconut, and melted butter until you have a smooth and luscious mixture.
- Mixing The Ingredients: Slowly introduce the wet mixture to the dry ingredients, stirring gently until you achieve a lump-free batter. The kitchen will be filled with the irresistible aroma of coconut, building excitement for the final outcome.
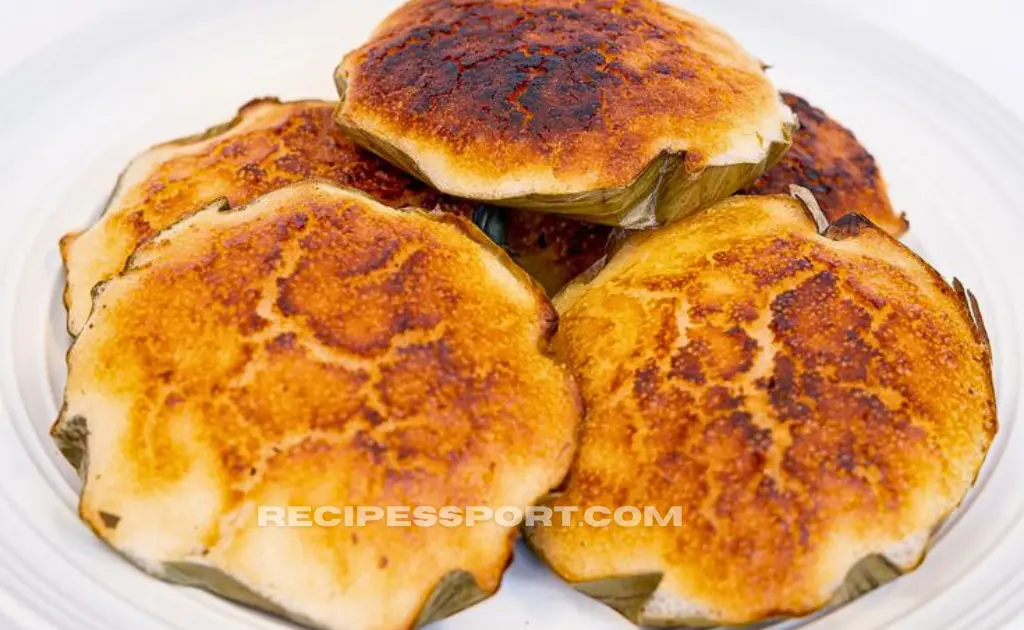
- Preparing The Pan: For an authentic touch, consider lining your cake pan with banana leaves and giving them a gentle buttery embrace. This step not only adds an exotic flavor but also infuses a subtle fragrance into your Bibingka.
- Baking The Bibingka: Pour the batter into the prepared cake pan, ensuring an even distribution. Slide it into the preheated oven and let it bake for approximately 40-45 minutes, or until the edges take on a golden hue and a toothpick inserted in the center emerges clean.
- Adding The Finishing Touch: Once your Bibingka emerges from its oven adventure, sprinkle the grated cheese generously on top. The residual warmth will coax the cheese into a delightful, savory contrast with the sweet, coconutty base.
Nutrition Information
For the health-conscious, here’s a peek at the nutritional facts of your homemade Bibingka Bisaya:
- Calories: 105 KCAL
- Sodium: 23mg
- Dietary Fiber: 0.2g
- Protein: 1g
- Fat: 3g
- Carbohydrates: 18g
- Sugar: 9g
What to Serve with Bibingka Bisaya Recipe
Wondering what pairs best with your Bibingka Bisaya? Well, this dessert is a versatile delight that can be enjoyed on its own or with a variety of toppings. Consider serving it with a dollop of buttercream, a swirl of whipped cream, or your favorite cheese for an extra flavor kick.
How to Store and Reheat
To keep the Bibingka fresh and delightful, store it in an airtight container in the refrigerator. When you’re ready to enjoy it again, a quick reheat in the microwave or a few minutes in the oven will revive its soft, delectable texture.
Conclusion
The Bibingka Bisaya Recipe is a culinary masterpiece that’s both easy to make and incredibly satisfying to indulge in. With its blend of traditional flavors and modern appeal, it’s a dessert that’s perfect for any day of the week. So, roll up your sleeves, gather your ingredients, and let the delightful journey to Bibingka bliss begin!

